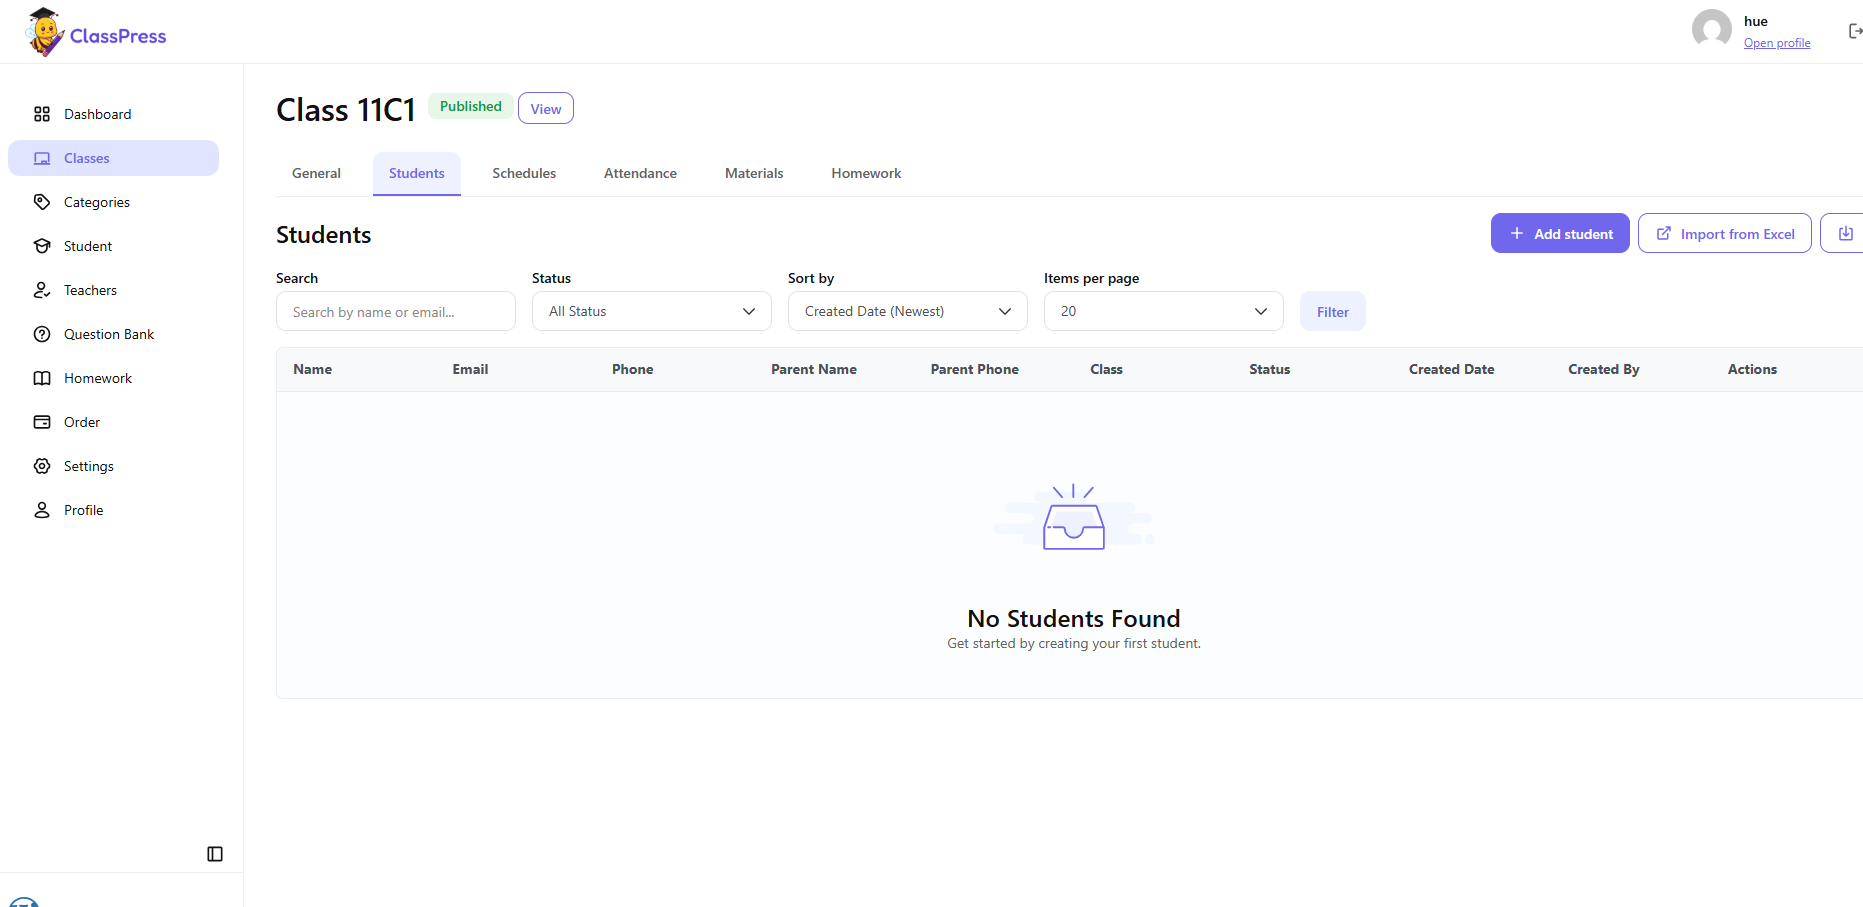
The Classes page allows administrators to create and manage all classes in ClassPress.
To access this page, click Classes from the left sidebar.
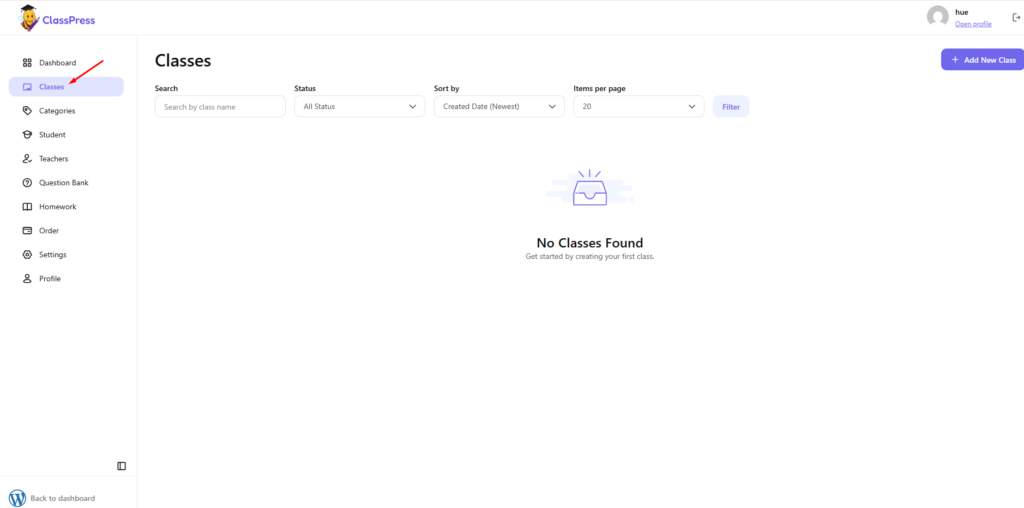
Class List
The Classes page displays all classes that have been created. If no classes are available, the page will display a No Classes Found message.
You can use the available filters to quickly locate and organize classes.
Search
Enter a class name in the Search field to find a specific class.
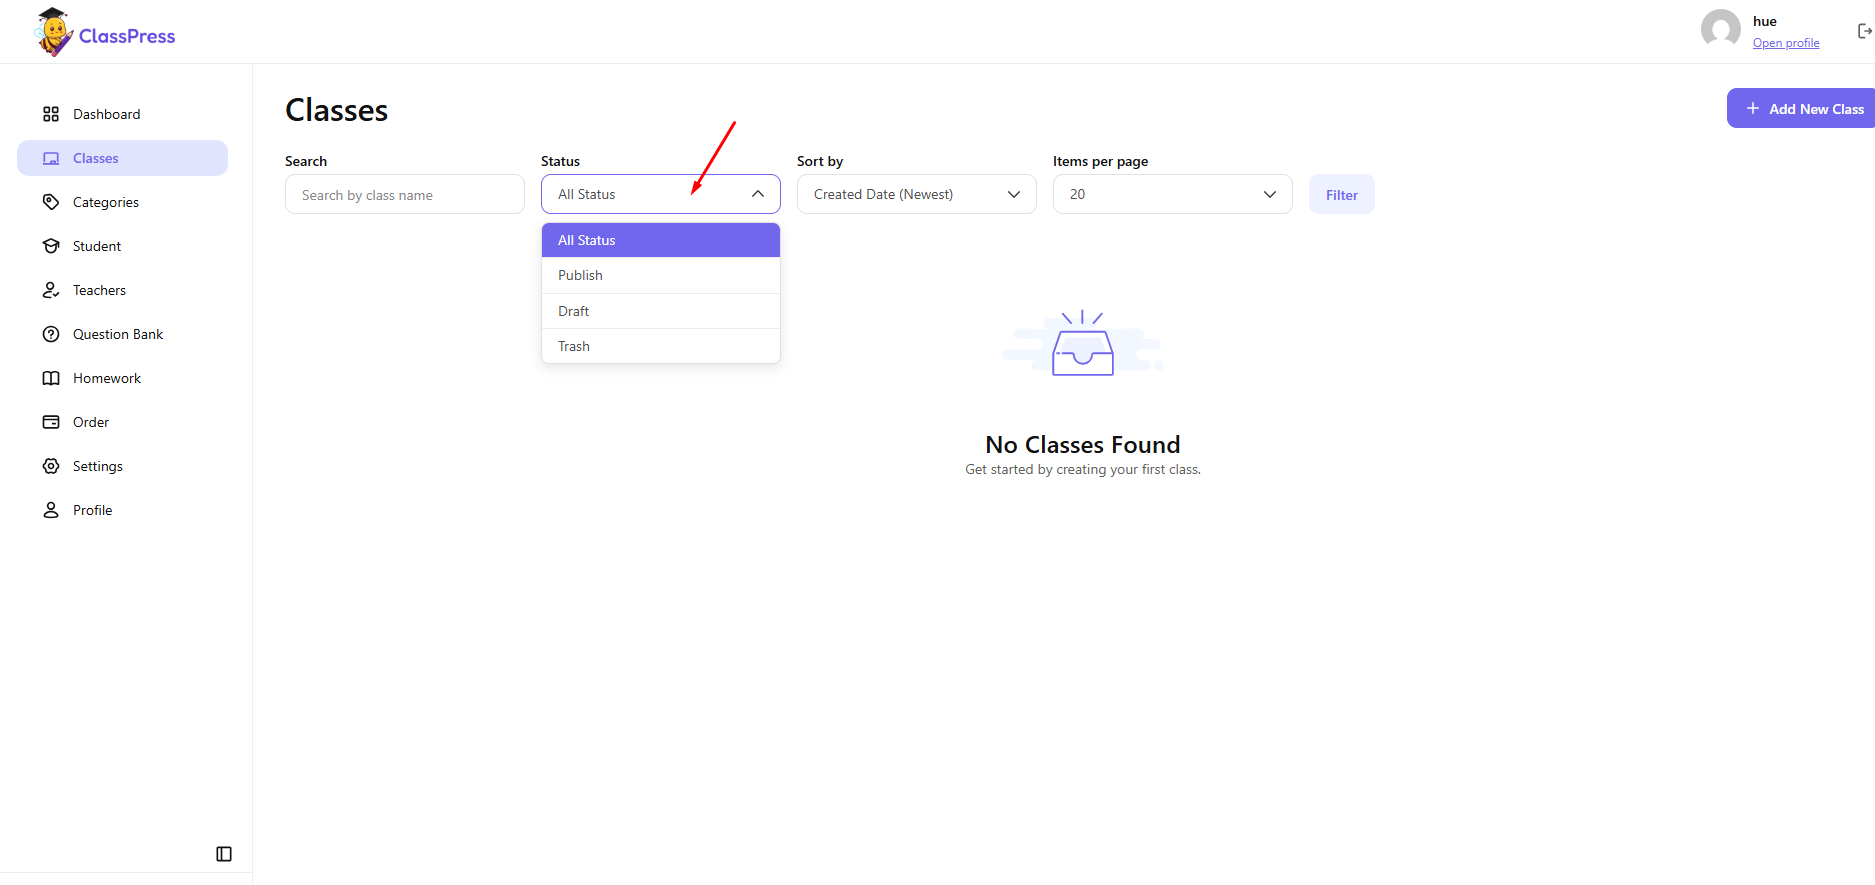
Status
Use the Status dropdown to display classes with a specific status.
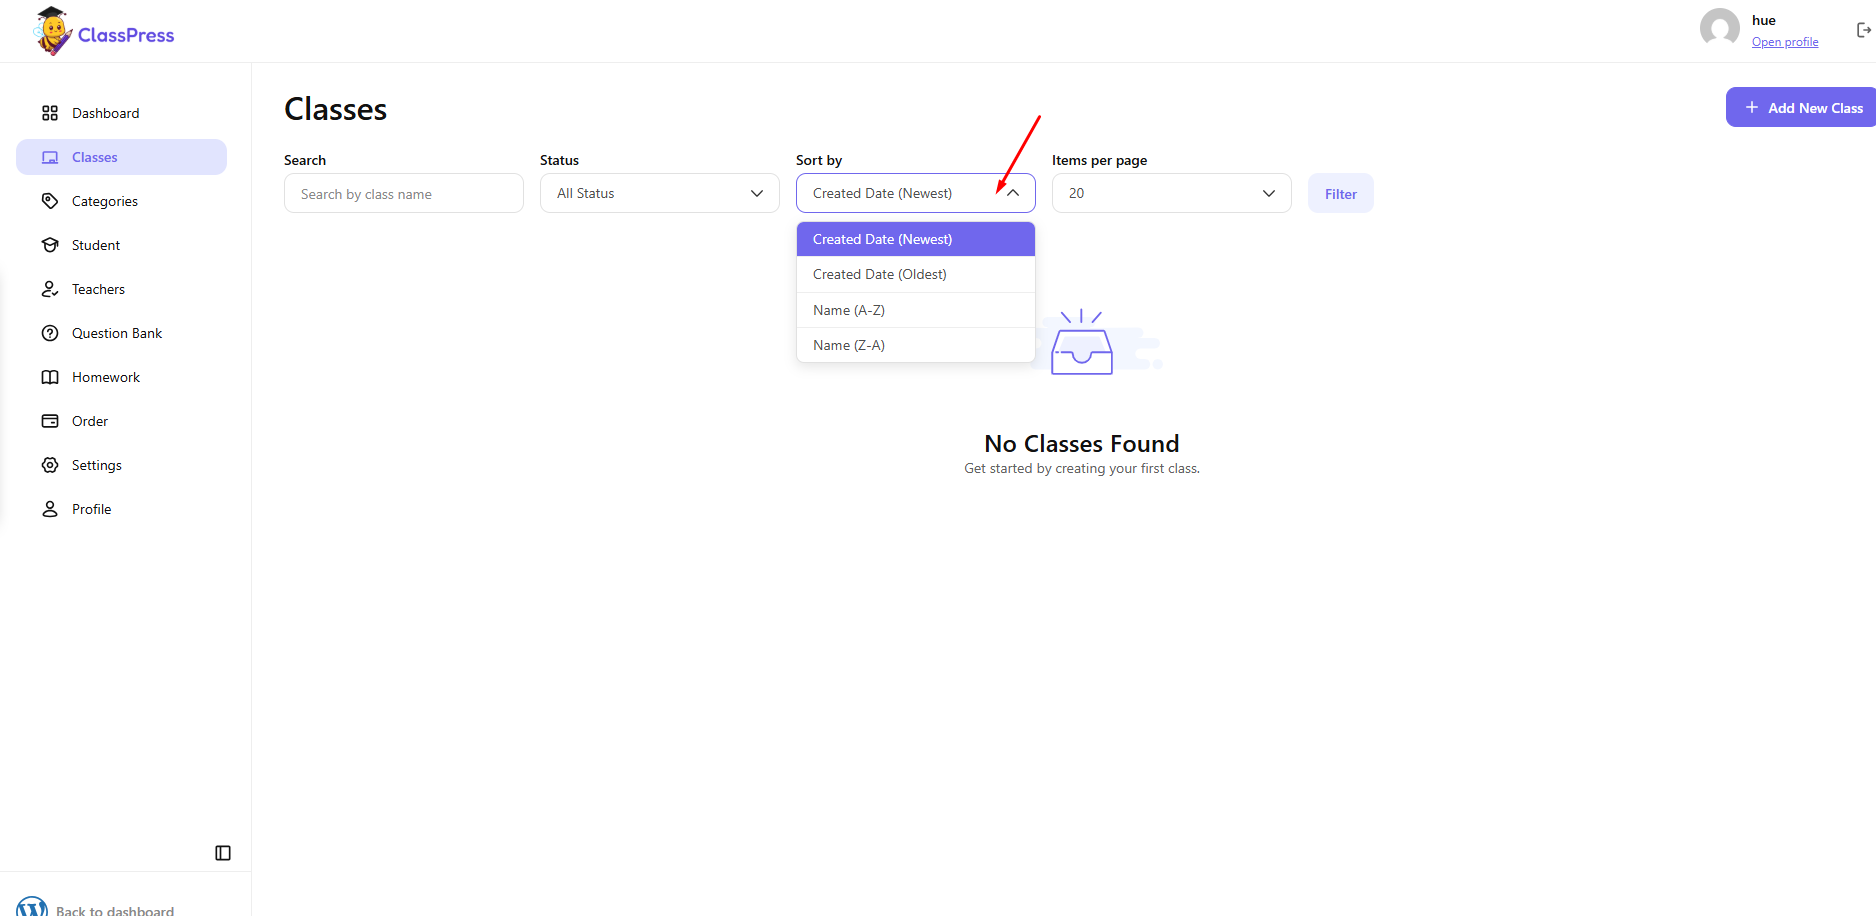
Sort by
Use the Sort by dropdown to change the order in which classes are displayed.
Items per page
Select the number of classes to display on each page.
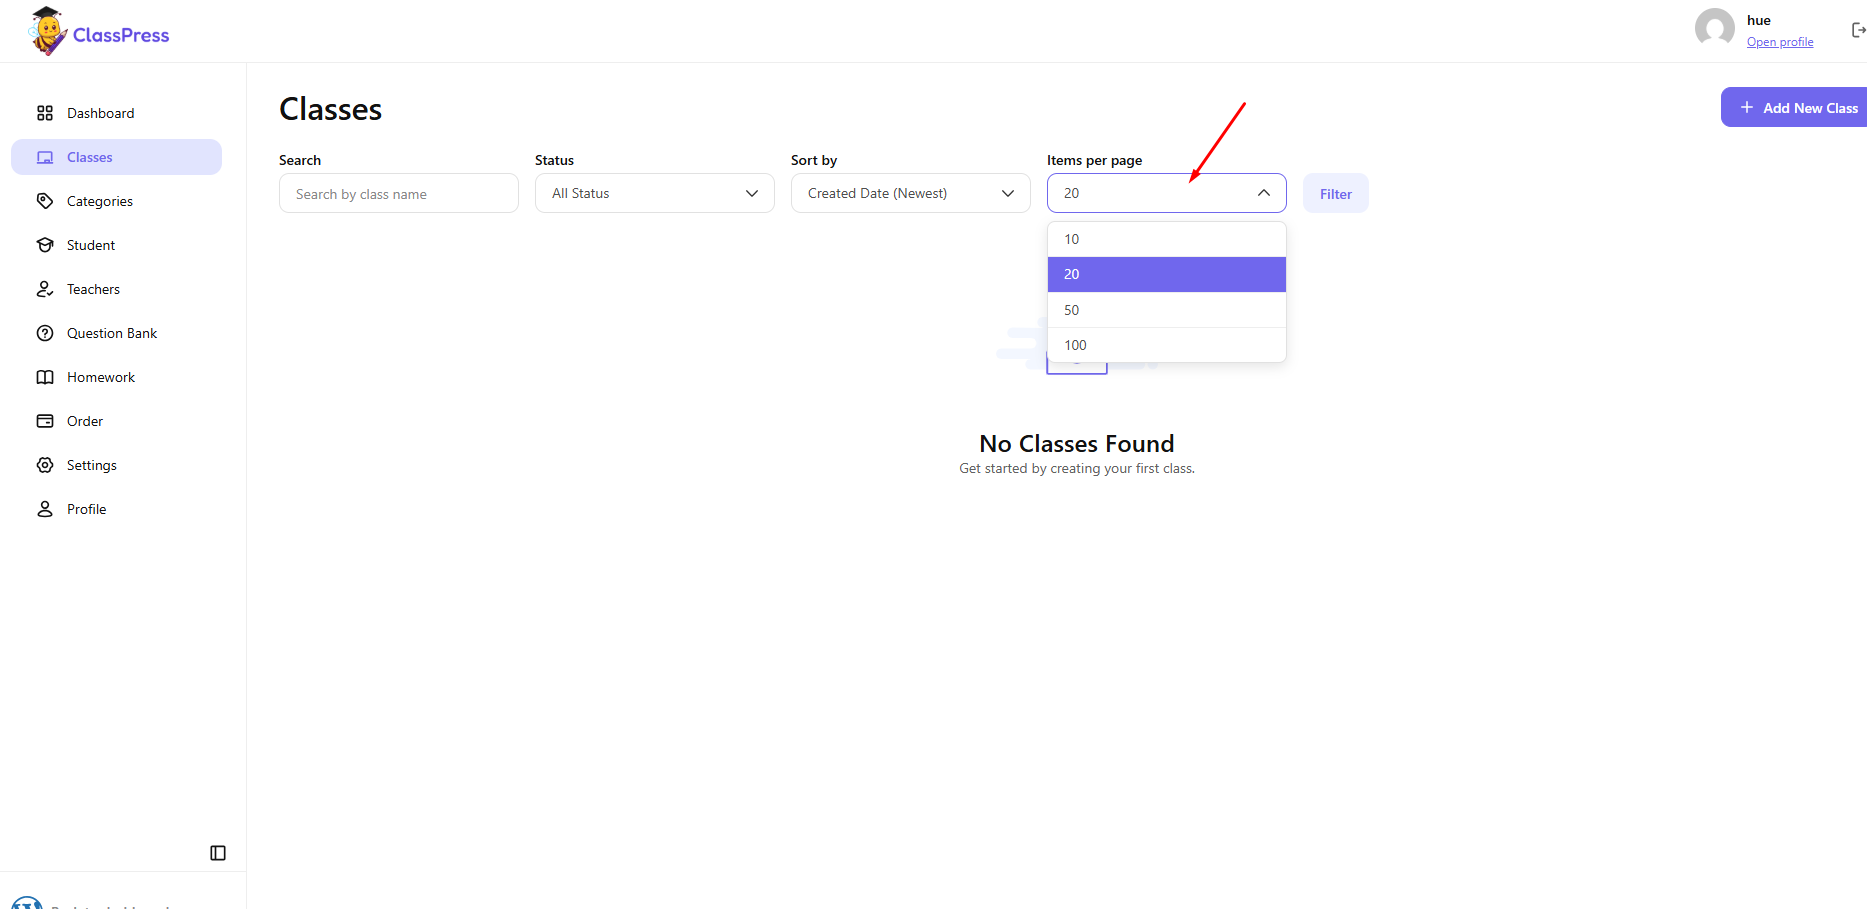
Filter
After selecting your search criteria, click Filter to refresh the class list.
Creating a New Class
To create a new class:
- Navigate to Classes.
- Click Add New Class.
- Enter the required information.
- Click Create.
Once the class has been created successfully, it will appear in the class list.
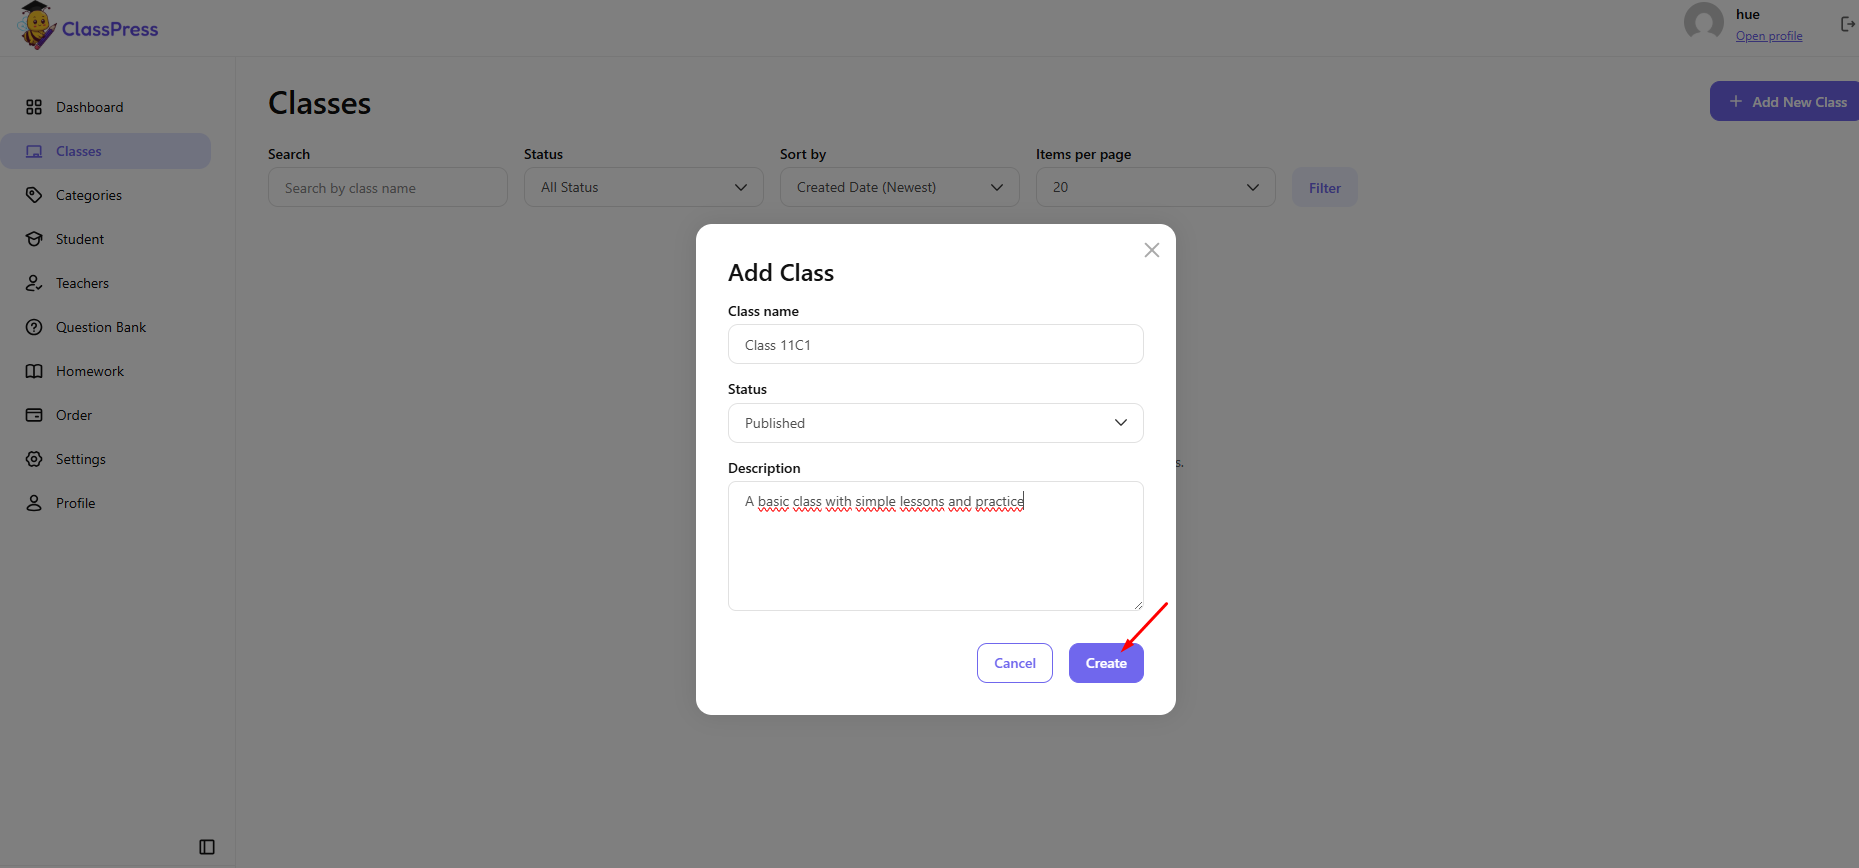
Add Class
Class Name
Enter a descriptive name for the class.
Examples include:
- English Beginner
- Physics 101
This field is required.
Status
Select the status for the class.
- Draft – The class is saved as a draft and can be edited before being published.
- Publish – The class is published and available for use.
Description
Optionally, enter a description for the class
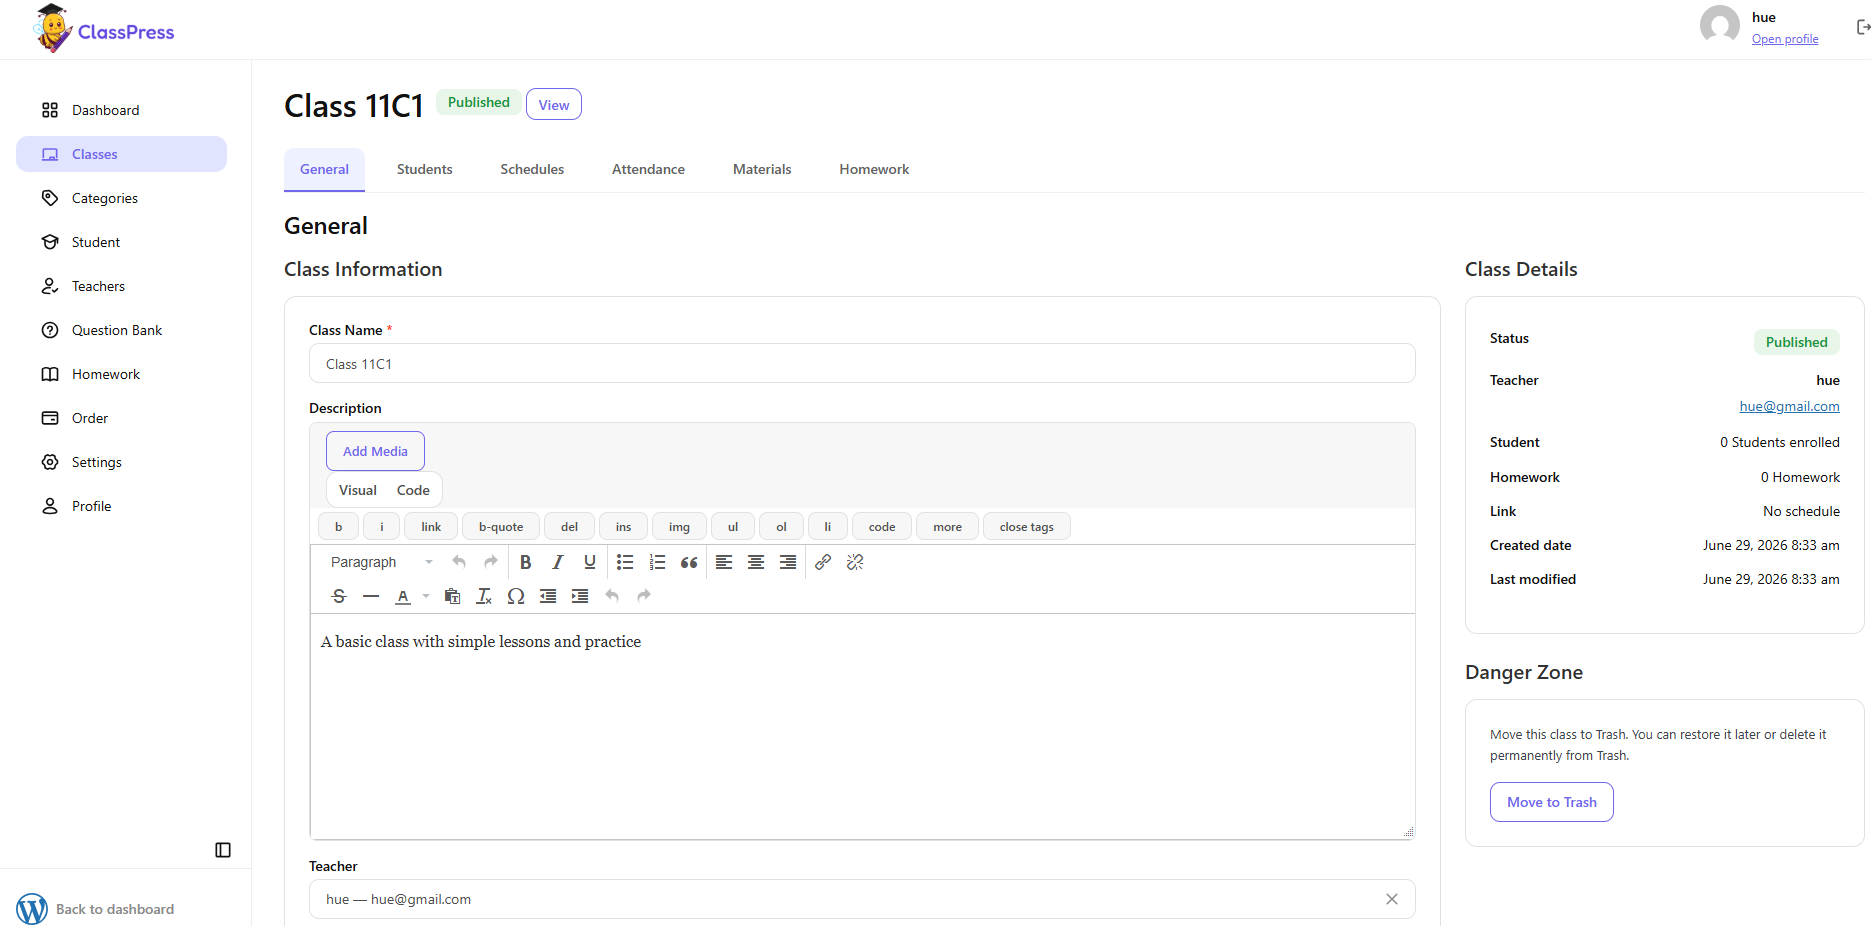
Once your class is created, you’ll be redirected to the detail page where you can start customizing it
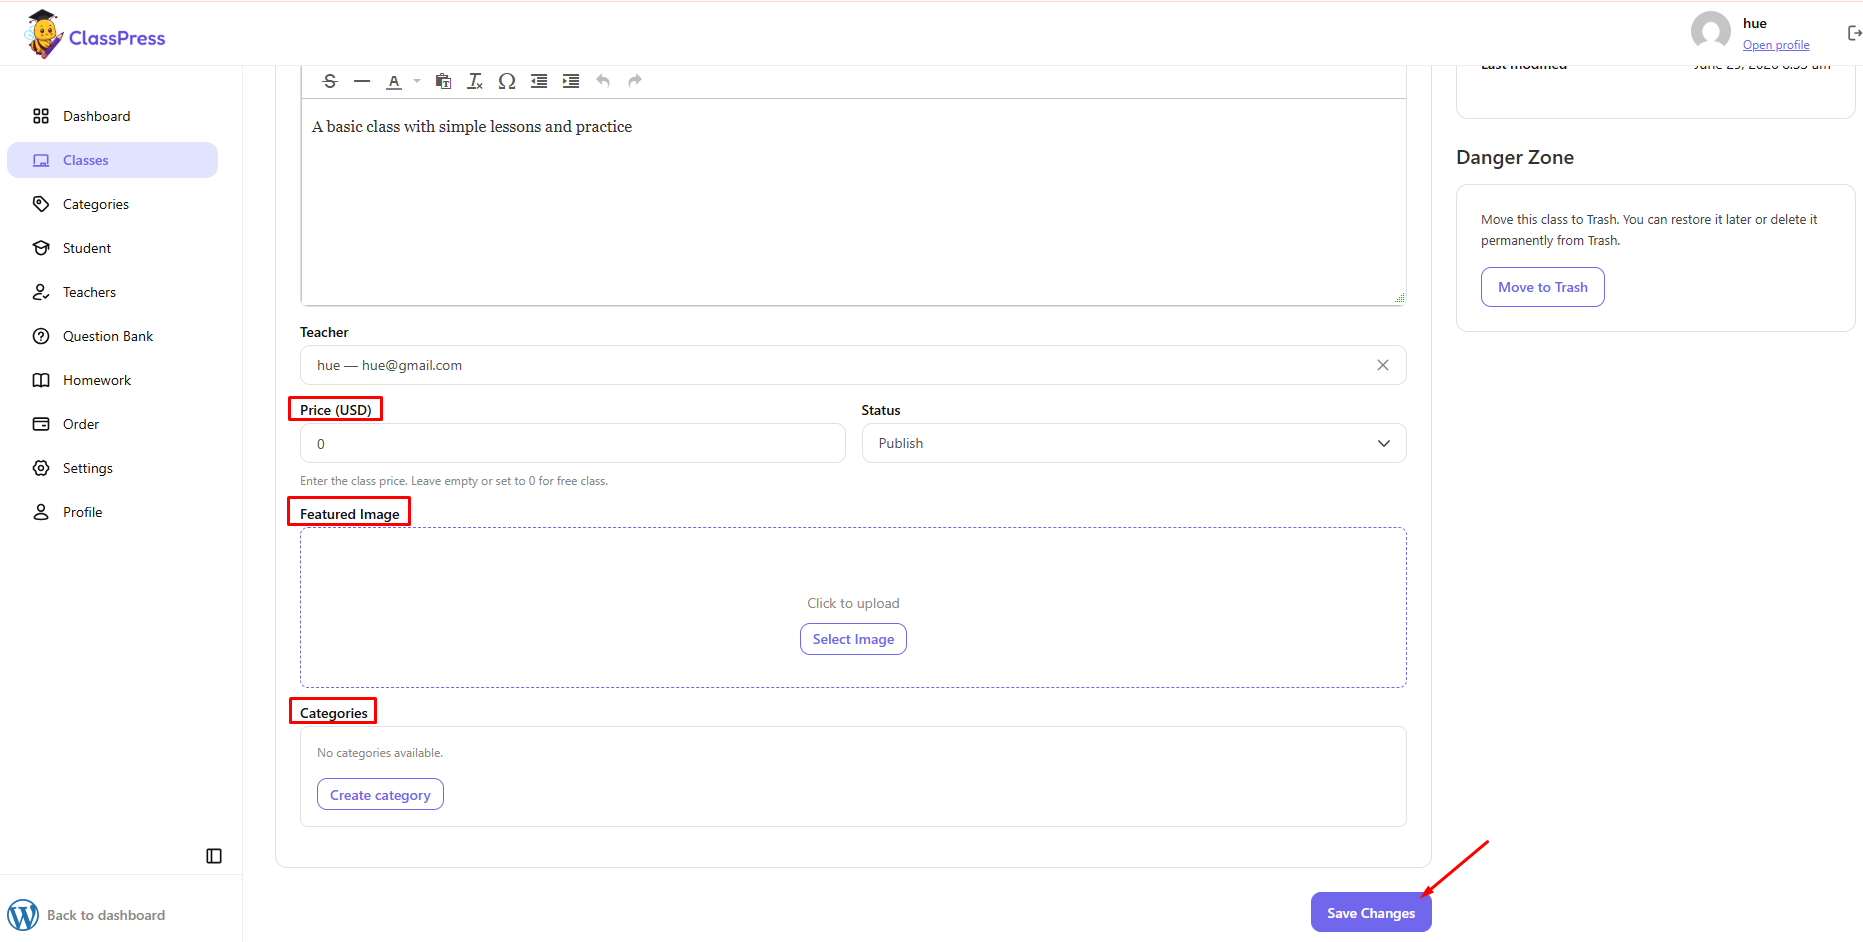
In the General section, you can customize several settings as shown below
- Price: Set the course price. Enter 0 if the course is free.
- Featured Image: Upload a featured image to display on the course listing page.
- Categories: Create new categories or select from existing ones.
After making any changes, don’t forget to click ‘Save Changes’ to save them.
After completing all settings in the General tab, you can move on to the Students section