
After installing and activating the LearnPress Chatroom add-on, you can create a dedicated chatroom for any course—whether it is a newly created course or an existing one.
To create a chatroom:
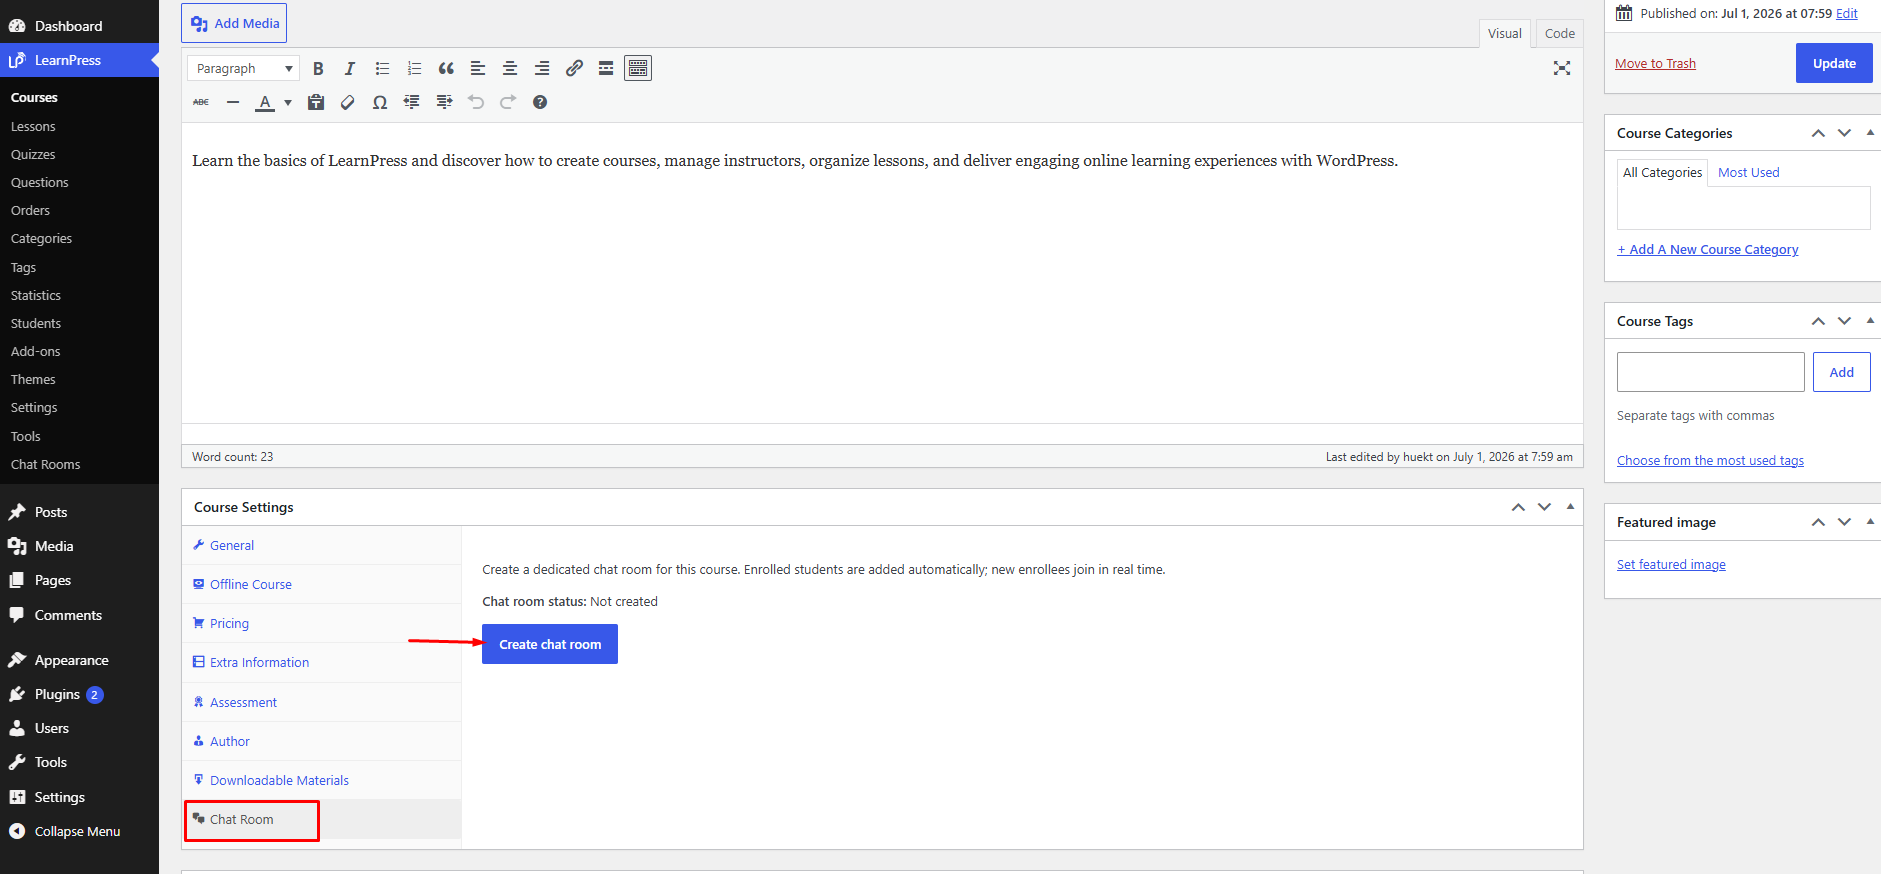
- Go to LearnPress → Courses, then create a new course or edit an existing course where you want to enable a chatroom.
- Scroll down to the Course Settings section and select the Chat Room tab.
- Click the Create Chat Room button.
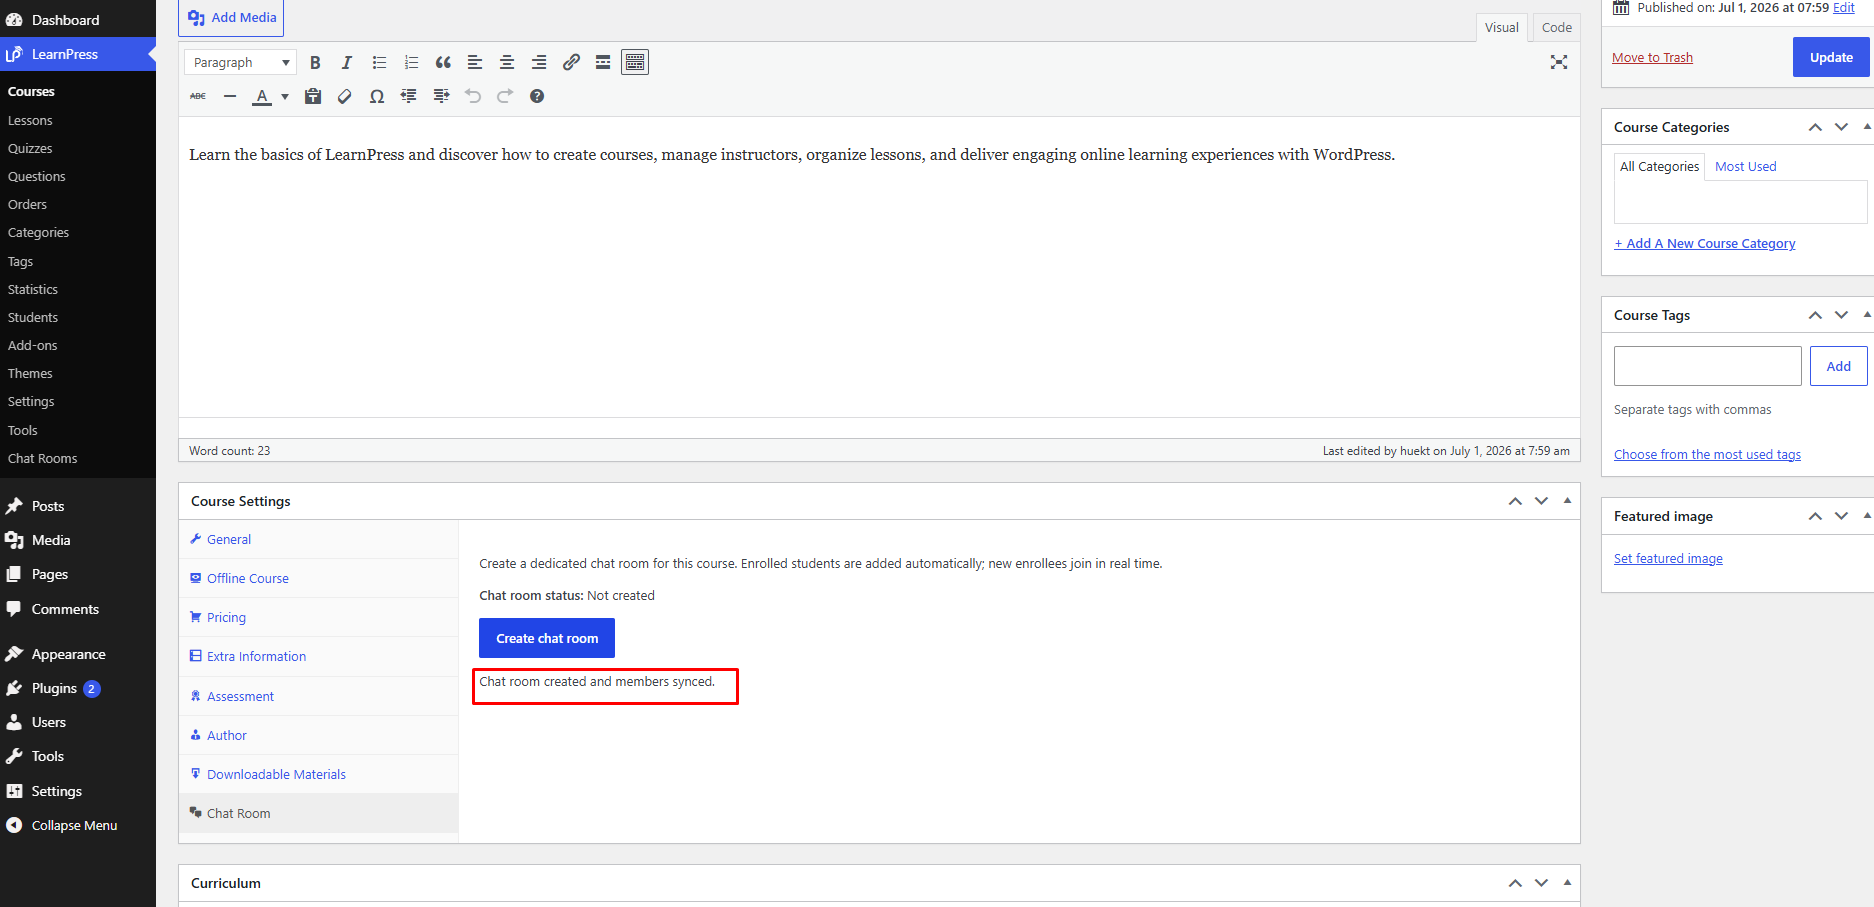
Once the chatroom is created successfully, its status will change to Active. You can also use the available options to open the chatroom in the Chat Manager or delete it if it is no longer needed.
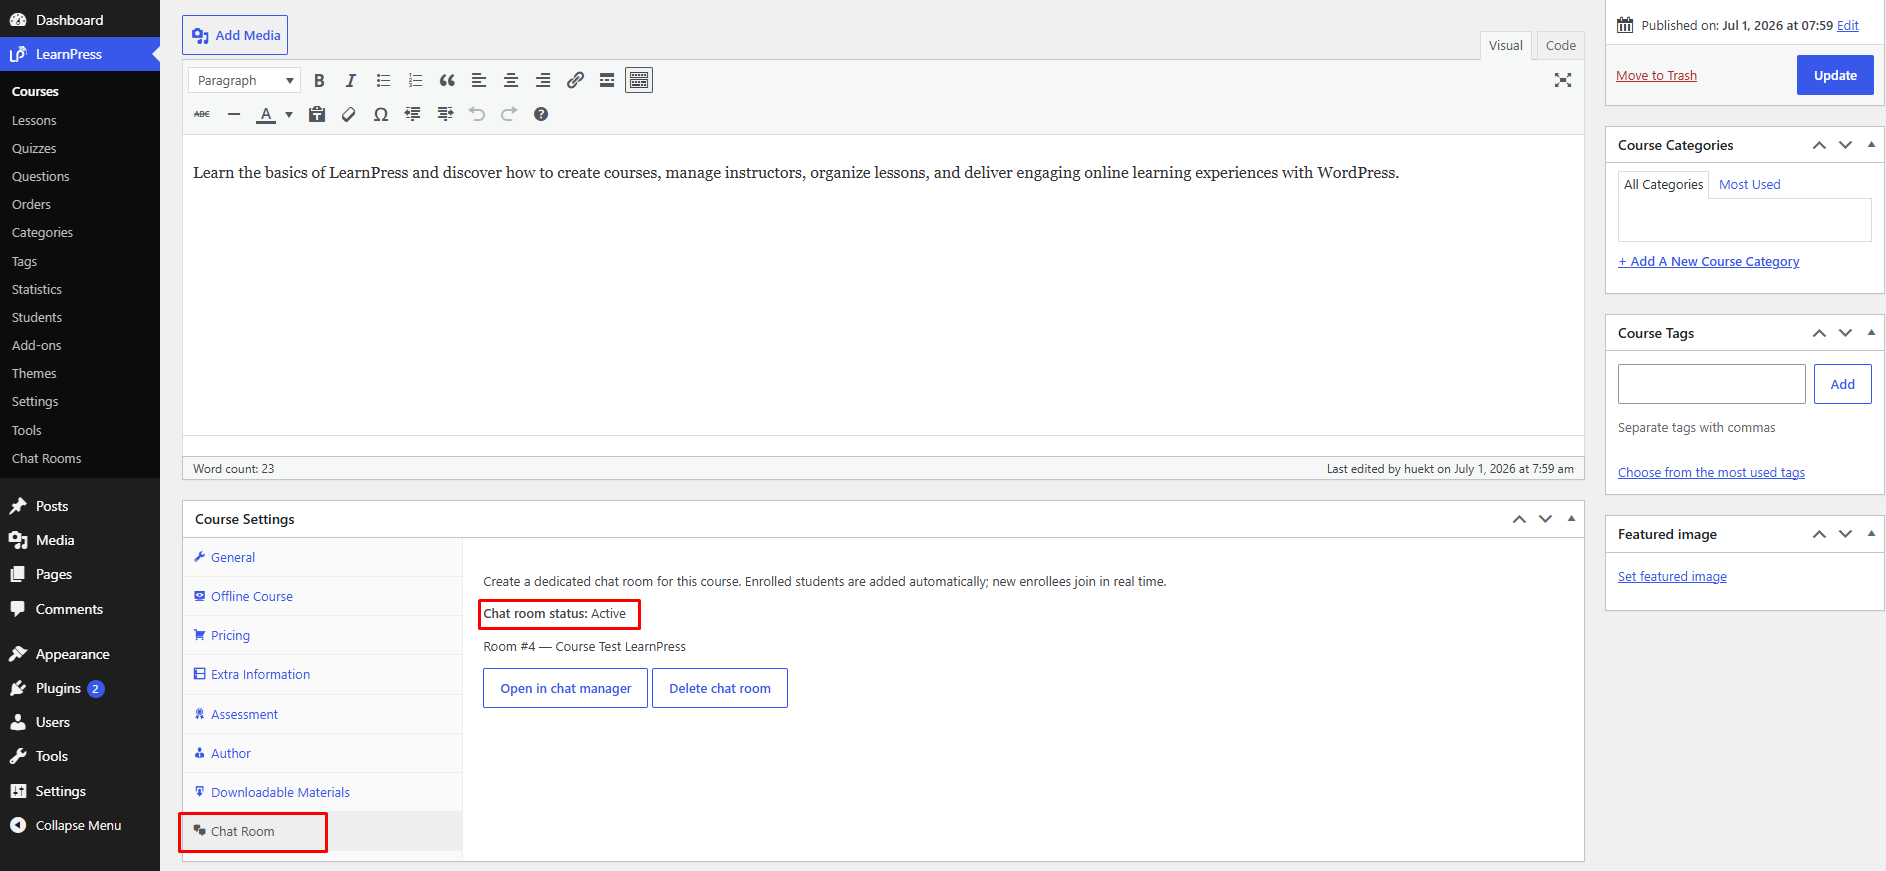
Note: Each course can have only one dedicated chatroom.
View the Course Chatroom
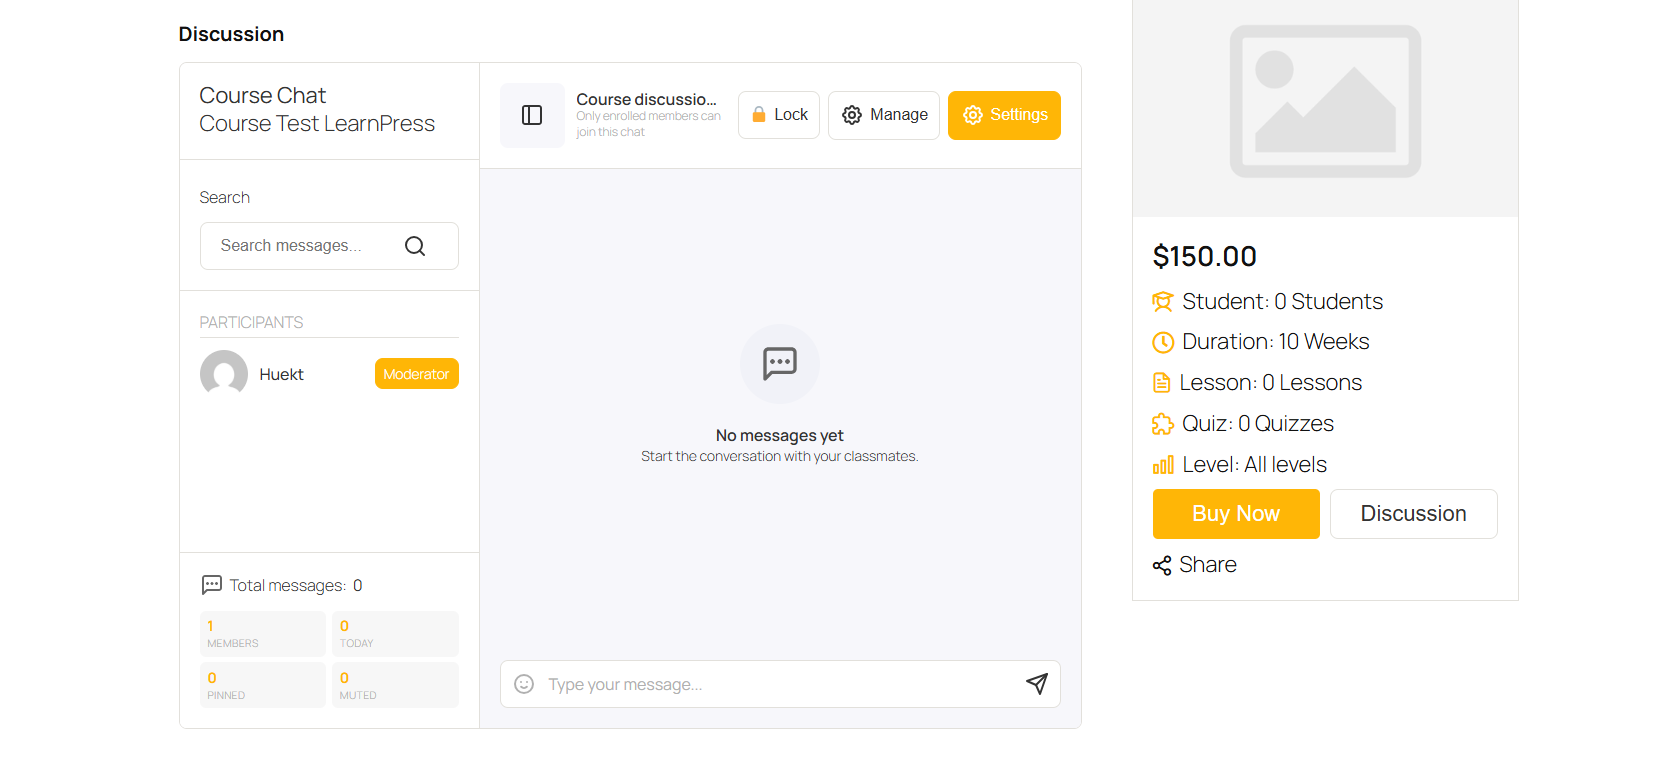
After creating a chatroom, open the course on the frontend and click the Discussion button to access the course chatroom.
The Discussion page provides a dedicated space where enrolled users can communicate, ask questions, share ideas, and interact throughout the course. Instructors and administrators can also participate in discussions while managing the chatroom.
Member Enrollment
When you create a chatroom for an existing course that already has enrolled students, all current enrolled users are automatically added to the chatroom. There is no need to invite members manually.
After the chatroom is created, any new students who enroll in the course will automatically join the chatroom as well.
Users who are not enrolled in the course cannot view or access the course chatroom.
Note: The Discussion section is only available to enrolled users. Visitors and users who have not enrolled in the course will not see or be able to access the chatroom.